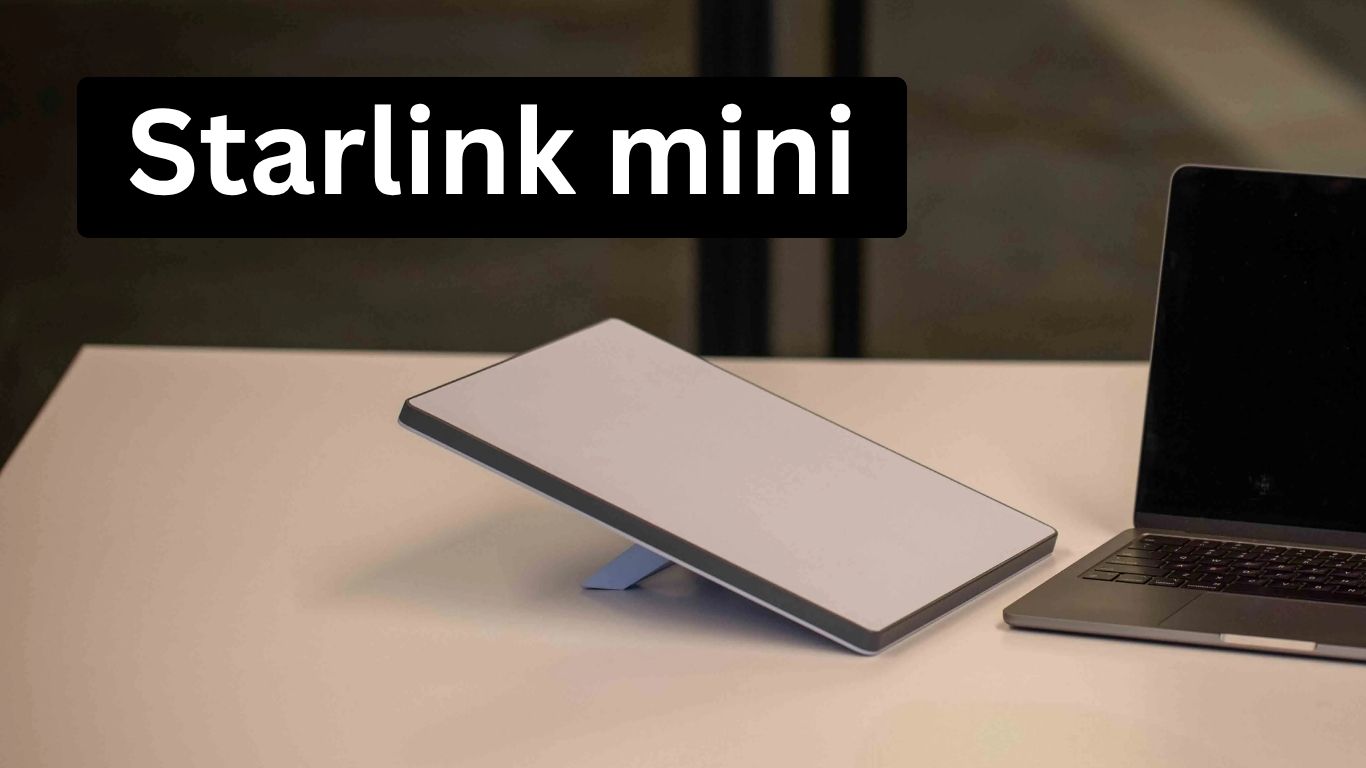
The Starlink Mini is more than just a smaller version of the Starlink system – it’s a portable satellite internet revolution.
Designed by SpaceX for travelers, remote workers, and anyone who needs reliable connectivity off-grid, the Mini is compact, energy-efficient, and easy to power almost anywhere. Whether you’re in an RV, a cabin, or camping off the grid, the Starlink Mini setup process is simple and fast – giving you high-speed internet in minutes.
Let’s walk through how to unbox, install, power, and optimize your Starlink Mini for every environment.
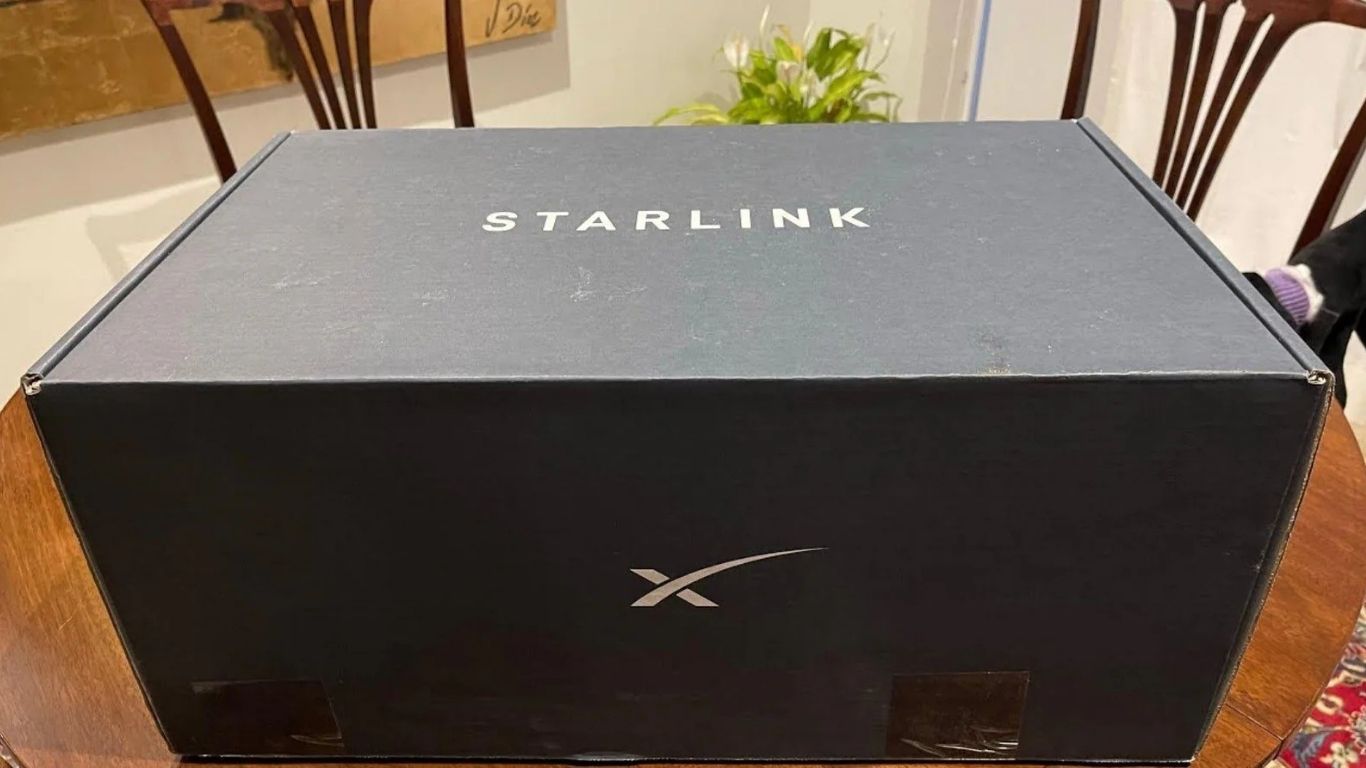
Unboxing the Starlink Mini Kit
When you receive your Starlink Mini kit, here’s what’s typically included in the box:
- Starlink Mini dish (antenna)
- Integrated Wi-Fi router
- AC power cable
- Mounting base (tripod-style)
- User manual / quick start guide
If you purchased your unit through Chaxtool.shop, you’ll also find optional add-ons like extra power cables, solar adapters, and protective carrying cases.
Before starting setup:
- Choose a location with a clear view of the sky.
- Avoid obstructions like trees, walls, or metal roofs.
- Make sure your Mini dish is on a stable, level surface.
How to Set Up Starlink Mini (Step-by-Step)
Setting up your Starlink Mini only takes about 10–15 minutes.
Step 1: Mount the Dish
- Place your Mini on the included stand or tripod.
- Ensure it’s facing upward with a clear line of sight to the sky.
Step 2: Connect the Power Cable
- Plug the AC cable into the dish’s port.
- Connect the other end to the included Starlink Mini router.
Step 3: Connect to Power
- Plug the system into a wall outlet, power station, or solar inverter.
Step 4: Download the Starlink App
- Download the Starlink app on your Android or iOS device.
- Log in using your Starlink account credentials.
Step 5: Activate and Connect
- The app will automatically detect your Mini and begin setup.
- Once connected, you’ll see a confirmation message and can run a speed test.
Setup Tip: The Starlink Mini automatically aligns itself to the optimal angle — no manual adjustments needed.
Mounting Options (Roof, RV, Boat, Pole, Tripod)
Depending on where you plan to use it, there are multiple Starlink Mini mounting options:
| Mount Type | Best For | Key Benefits |
|---|---|---|
| Tripod Mount | Camping / temporary use | Portable and lightweight |
| Roof Mount | Homes / cabins | Stable, permanent installation |
| Pole Mount | Rural setups | Better sky clearance |
| RV Mount | Mobile use | Mounts easily to RV roofs |
| Boat Mount | Marine environments | Waterproof and secure during motion |
Where to get mounts: You can find durable roof, RV, and pole mounts designed for Starlink Mini at Chaxtool.shop — compatible with all standard dish models.
Starlink Mini Accessories You’ll Actually Need
To make the most of your Starlink Mini, here are essential accessories worth considering:
- Protective Carrying Case – Keeps your equipment safe during travel.
- Extra Power Cable (10m–25m) – For flexible setup distances.
- 12V DC Power Adapter – For car or RV use.
- Ethernet Adapter – For wired connections to routers or gaming consoles.
- Solar Power Kit / Adapter – To stay connected off-grid.
- Tripod Mount / Magnetic Base – For portable setups.
All of these are available at Chaxtool.shop — including official Starlink-compatible accessories and solar integration kits.
Powering Starlink Mini Anywhere (Home, Car, Solar, Battery)
One of Starlink Mini’s biggest advantages is low power consumption — typically around 20–40 watts, depending on network activity.
Here’s how you can power it in different scenarios:
1. Home or Cabin
- Use the included AC adapter plugged into a wall socket.
- Optional UPS backup keeps it running during power outages.
2. Vehicle or RV
- Use a 12V DC car adapter or inverter.
- Connect it directly to your RV’s battery system.
- Ideal for mobile internet while on the road.
3. Off-Grid or Solar Setup
- Pair with a solar panel (100–200W) and power station (like EcoFlow, Jackery, or Bluetti).
- Plug into the DC or AC output depending on your adapter type.
- Average runtime:
- 500Wh power station = 10–15 hours of usage
- 1000Wh system = 24–30 hours of connectivity
Recommended setup: Solar + battery combo kits from Chaxtool.shop are optimized for Starlink Mini, ensuring consistent voltage and efficient conversion.
Troubleshooting & Common Setup Mistakes
Here are a few common issues and how to fix them:
| Issue | Possible Cause | Quick Fix |
|---|---|---|
| Mini won’t power on | Faulty power source | Try another outlet or adapter |
| No signal / offline | Obstructions or poor sky view | Move to a clear, open area |
| Slow speeds | Network congestion or firmware | Restart and update via the app |
| Overheating | Poor ventilation | Relocate to shaded area |
| Router not connecting | Interference or misconfiguration | Reboot and reconnect manually |
If the problem persists, perform a factory reset in the Starlink app or consult Starlink Support.
How to Get Starlink Mini Internet
If you don’t already own a Starlink Mini, getting started is simple. Starlink is now expanding access to more regions worldwide, offering portable, high-speed satellite internet almost anywhere.
Here’s how to get Starlink internet and sign up for Starlink Mini:
- Visit the official Starlink website or go to Chaxtool.shop for Starlink Mini availability.
- Check service coverage in your area. Enter your address to confirm if Starlink Mini or standard Starlink is supported.
- If your region isn’t yet covered, join the Starlink waitlist — you’ll be notified once Mini kits become available in your country.
- Once approved, place your order and complete payment directly through the official portal or through Chaxtool.shop for trusted availability.
- After receiving your kit, follow the first-time setup guide below to connect your Starlink Mini and start using it immediately.
Pro Tip: Signing up early ensures you’re prioritized for activation once new areas open up. Early access users often get faster delivery and better support.
Choosing Your Starlink RV Pole Kit (For Travelers & Campers)
If you’re setting up your Starlink Mini for RV, camping, or off-grid use, you’ll need a proper Starlink RV pole kit to ensure stable mounting and consistent signal quality.
Here’s what to look for when choosing your RV pole kit:
- Height & Adjustability: Choose a pole that can extend above surrounding obstacles like trees or buildings.
- Mount Type: Tripod, roof, or clamp-on poles are best for RVs and mobile setups.
- Build Material: Lightweight aluminum is ideal for travel; steel offers more stability in windy areas.
- Compatibility: Make sure the mount head fits Starlink Mini’s mount bracket securely.
You can explore portable Starlink RV pole kits, mounts, and travel accessories at Chaxtool.shop — a trusted source for Starlink-compatible gear.
FAQ: Power, Cables, Adapters, and Connectivity
Around 20–40W on average, peaking up to 50W during high data use.
Yes — it’s fully compatible with solar setups using 12V or 24V systems with an inverter.
The Mini works while stationary or parked. Continuous motion use (like while driving) may cause brief disconnections.
Standard is 15m, but extensions up to 30m are supported with quality cables.
Yes — it includes a Wi-Fi 6 router with excellent range and performance.
Conclusion: Portable Internet Freedom for 2025 and Beyond
The Starlink Mini makes it easier than ever to stay online — anywhere, anytime.
With fast setup, low power use, and versatile mounting options, it’s perfect for travelers, campers, remote workers, and adventurers. Pair it with the right accessories and power setup, and you’ve got unlimited internet freedom in a box.
Explore official kits, power cables, and solar-ready setups at Chaxtool.shop – your trusted source for genuine Starlink Mini accessories and off-grid solutions.


One Comment